AI web scraping with JigsawStack and Supabase edge function
Scraping websites is a daunting task especially when modern web apps dynamically rendered html after loads of JS computation with generated css names that keep changing making it a pain to scrape without code breakage and that's only half the problem. You'll still have to set up and host puppeteer infrastructure, bypass powerful bot blockers and spend tons on proxies to get content from specific countries. All that gives me a headache.

How does web scraping work?
Web scraping is a process of extracting and cleaning of data in a structured format from a sites underlaying code that is being rendered by browsers in HTML, CSS and JS.
Websites come in many shapes and forms, with many different frameworks like ReactJS and CSS libraries like Tailwind CSS which makes the final rendered code in the browser way more complex. Moreover, sites today have advanced bot protection measures to prevent scraping with complex captchas.
Advanced scraping requires many different techniques stacked together such as request proxy and stealth browsers.
Request proxies makes the website think the site is being loaded from a specific country based on the IP address of the request giving you country accurate data while preventing your IPs from being blocked if consistently switched.
Stealth browsers are a way of setting up the browser instance that will be used to scrape so that the website won't block request thinking its a bot.
There are many other techniques required to workaround newer websites and nicher issues that are constantly discovered.
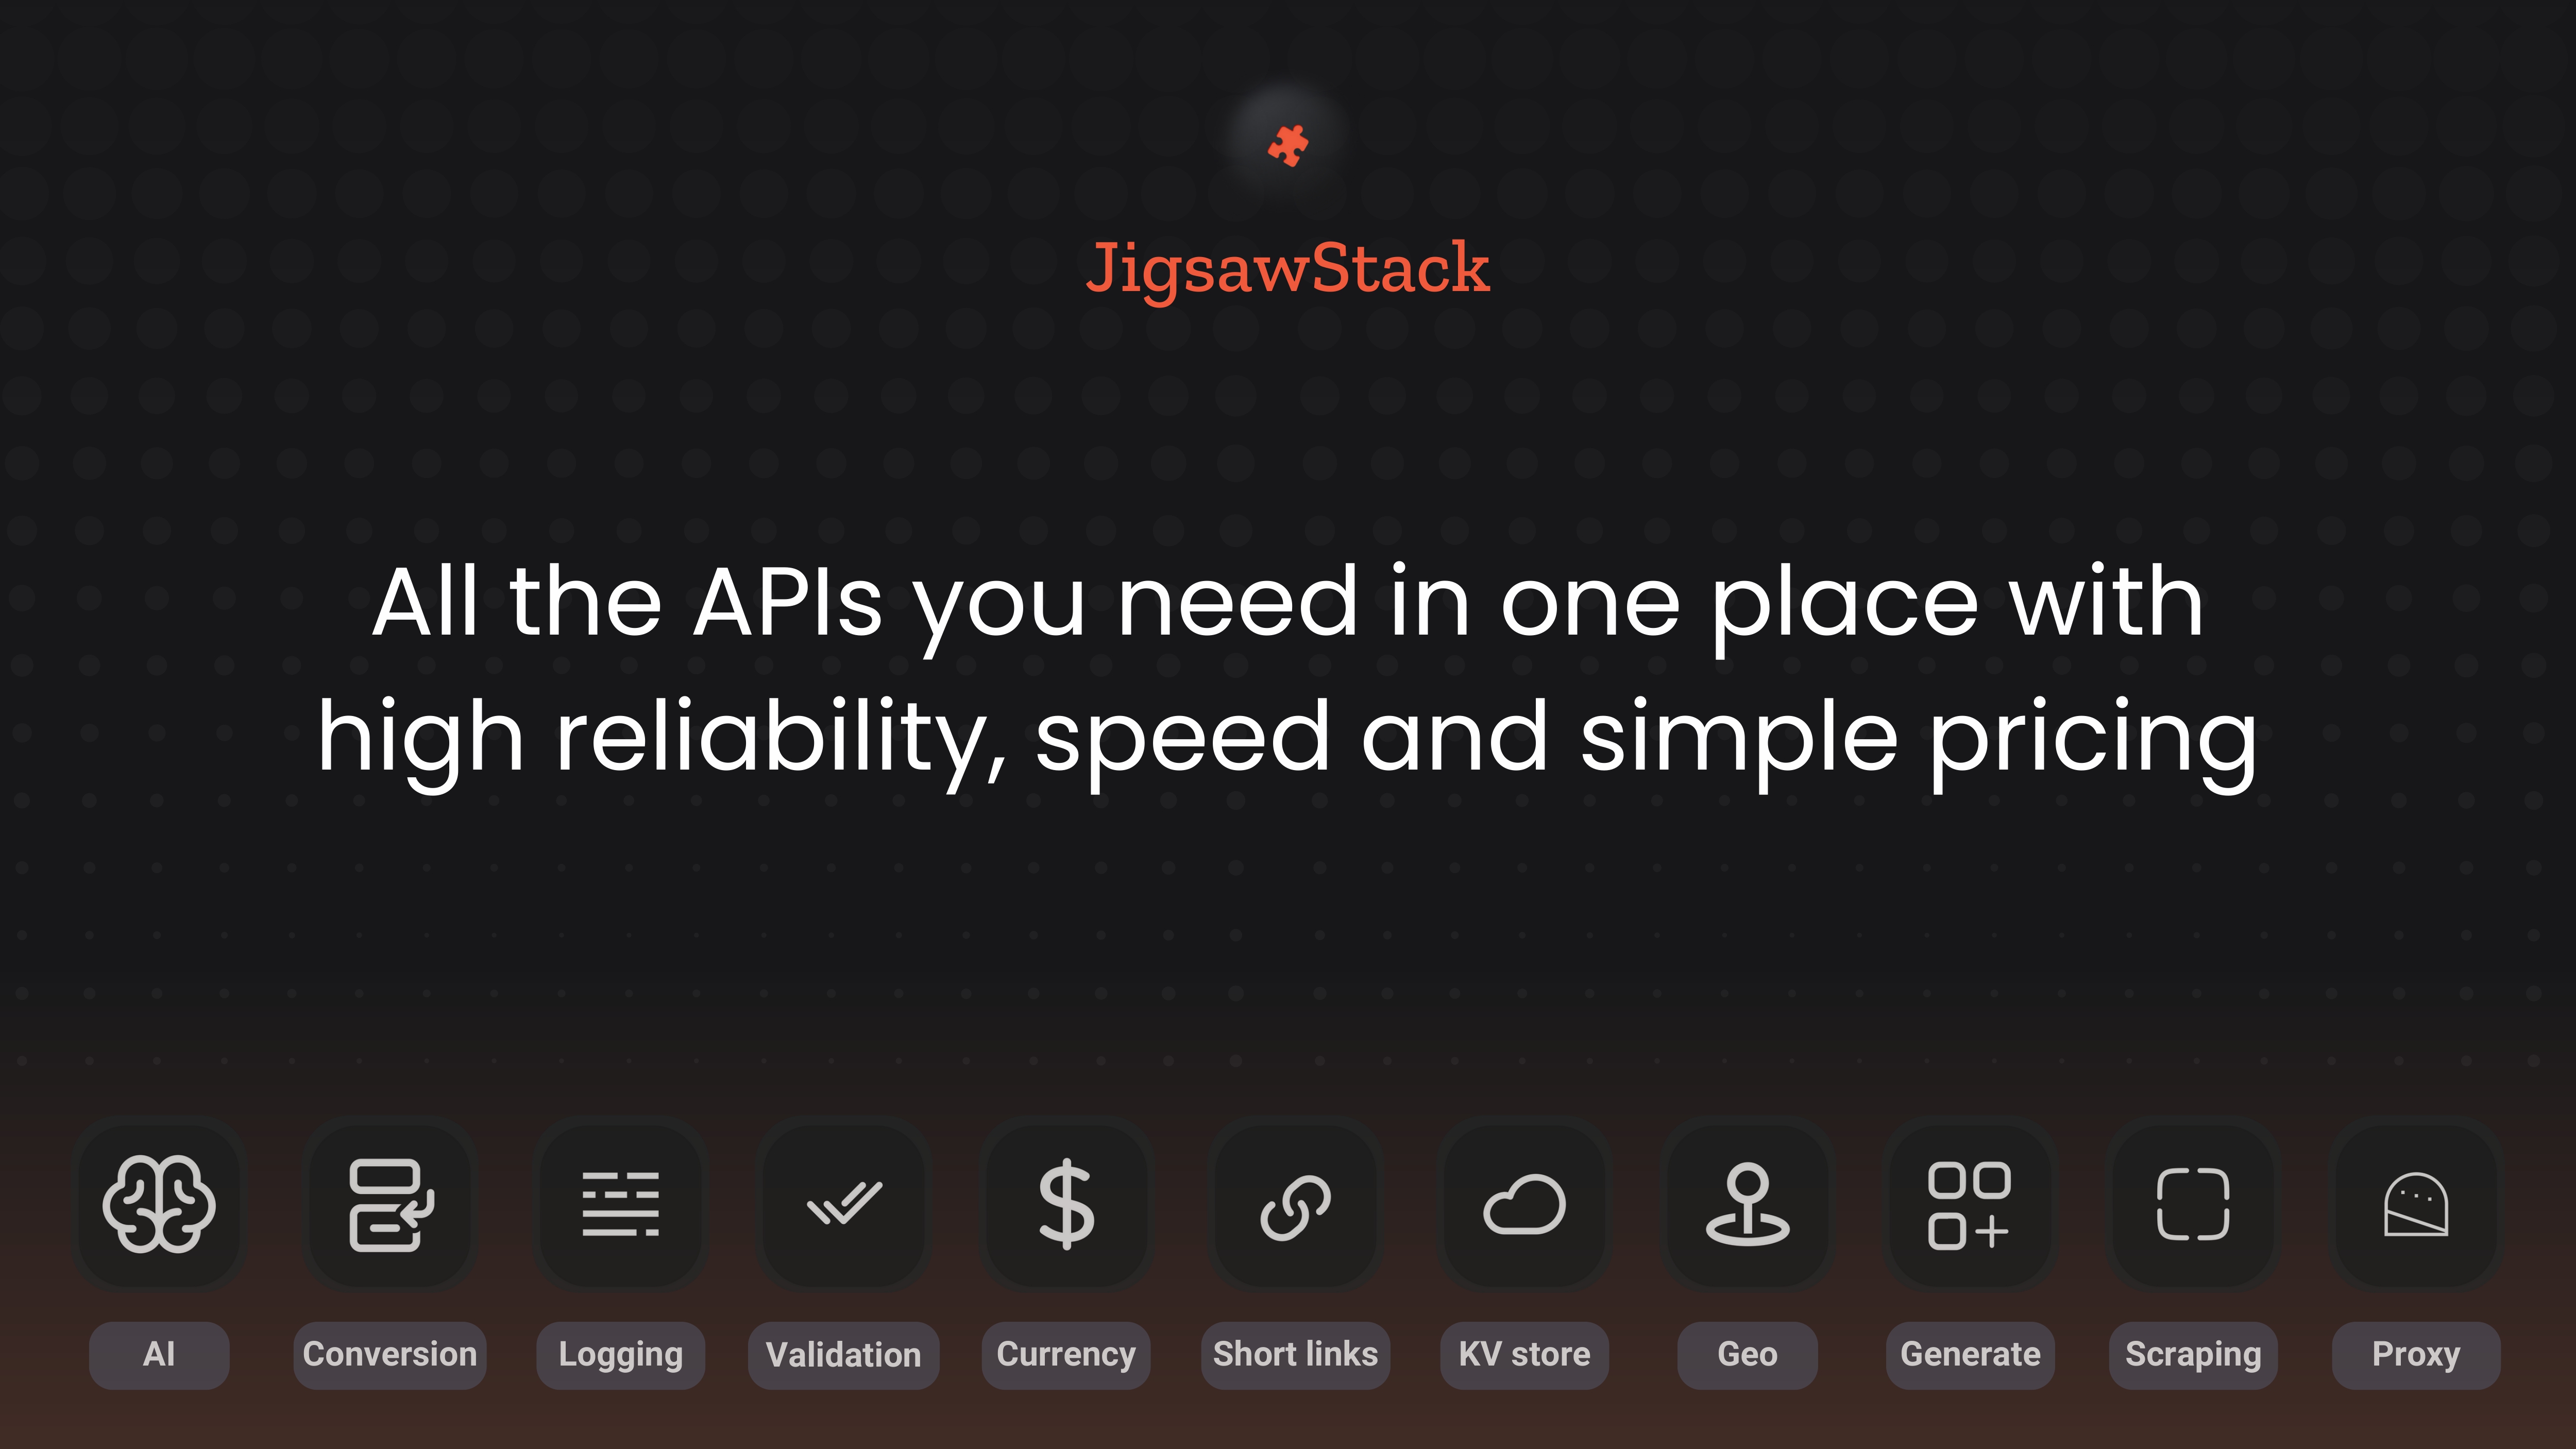
What is JigsawStack?
JigsawStack gives you access to powerful APIs developers need to ship 10x faster by keeping documentation consistent and APIs simple to use. You can learn more about the AI scraper over here and the wide range of other APIs.
AI Scraper
With the release of the new JigsawStack AI scraper, the AI will do the hard work by understand the underlaying code of the website and extract all relavant data in a consistent and structured manner based on your prompts.
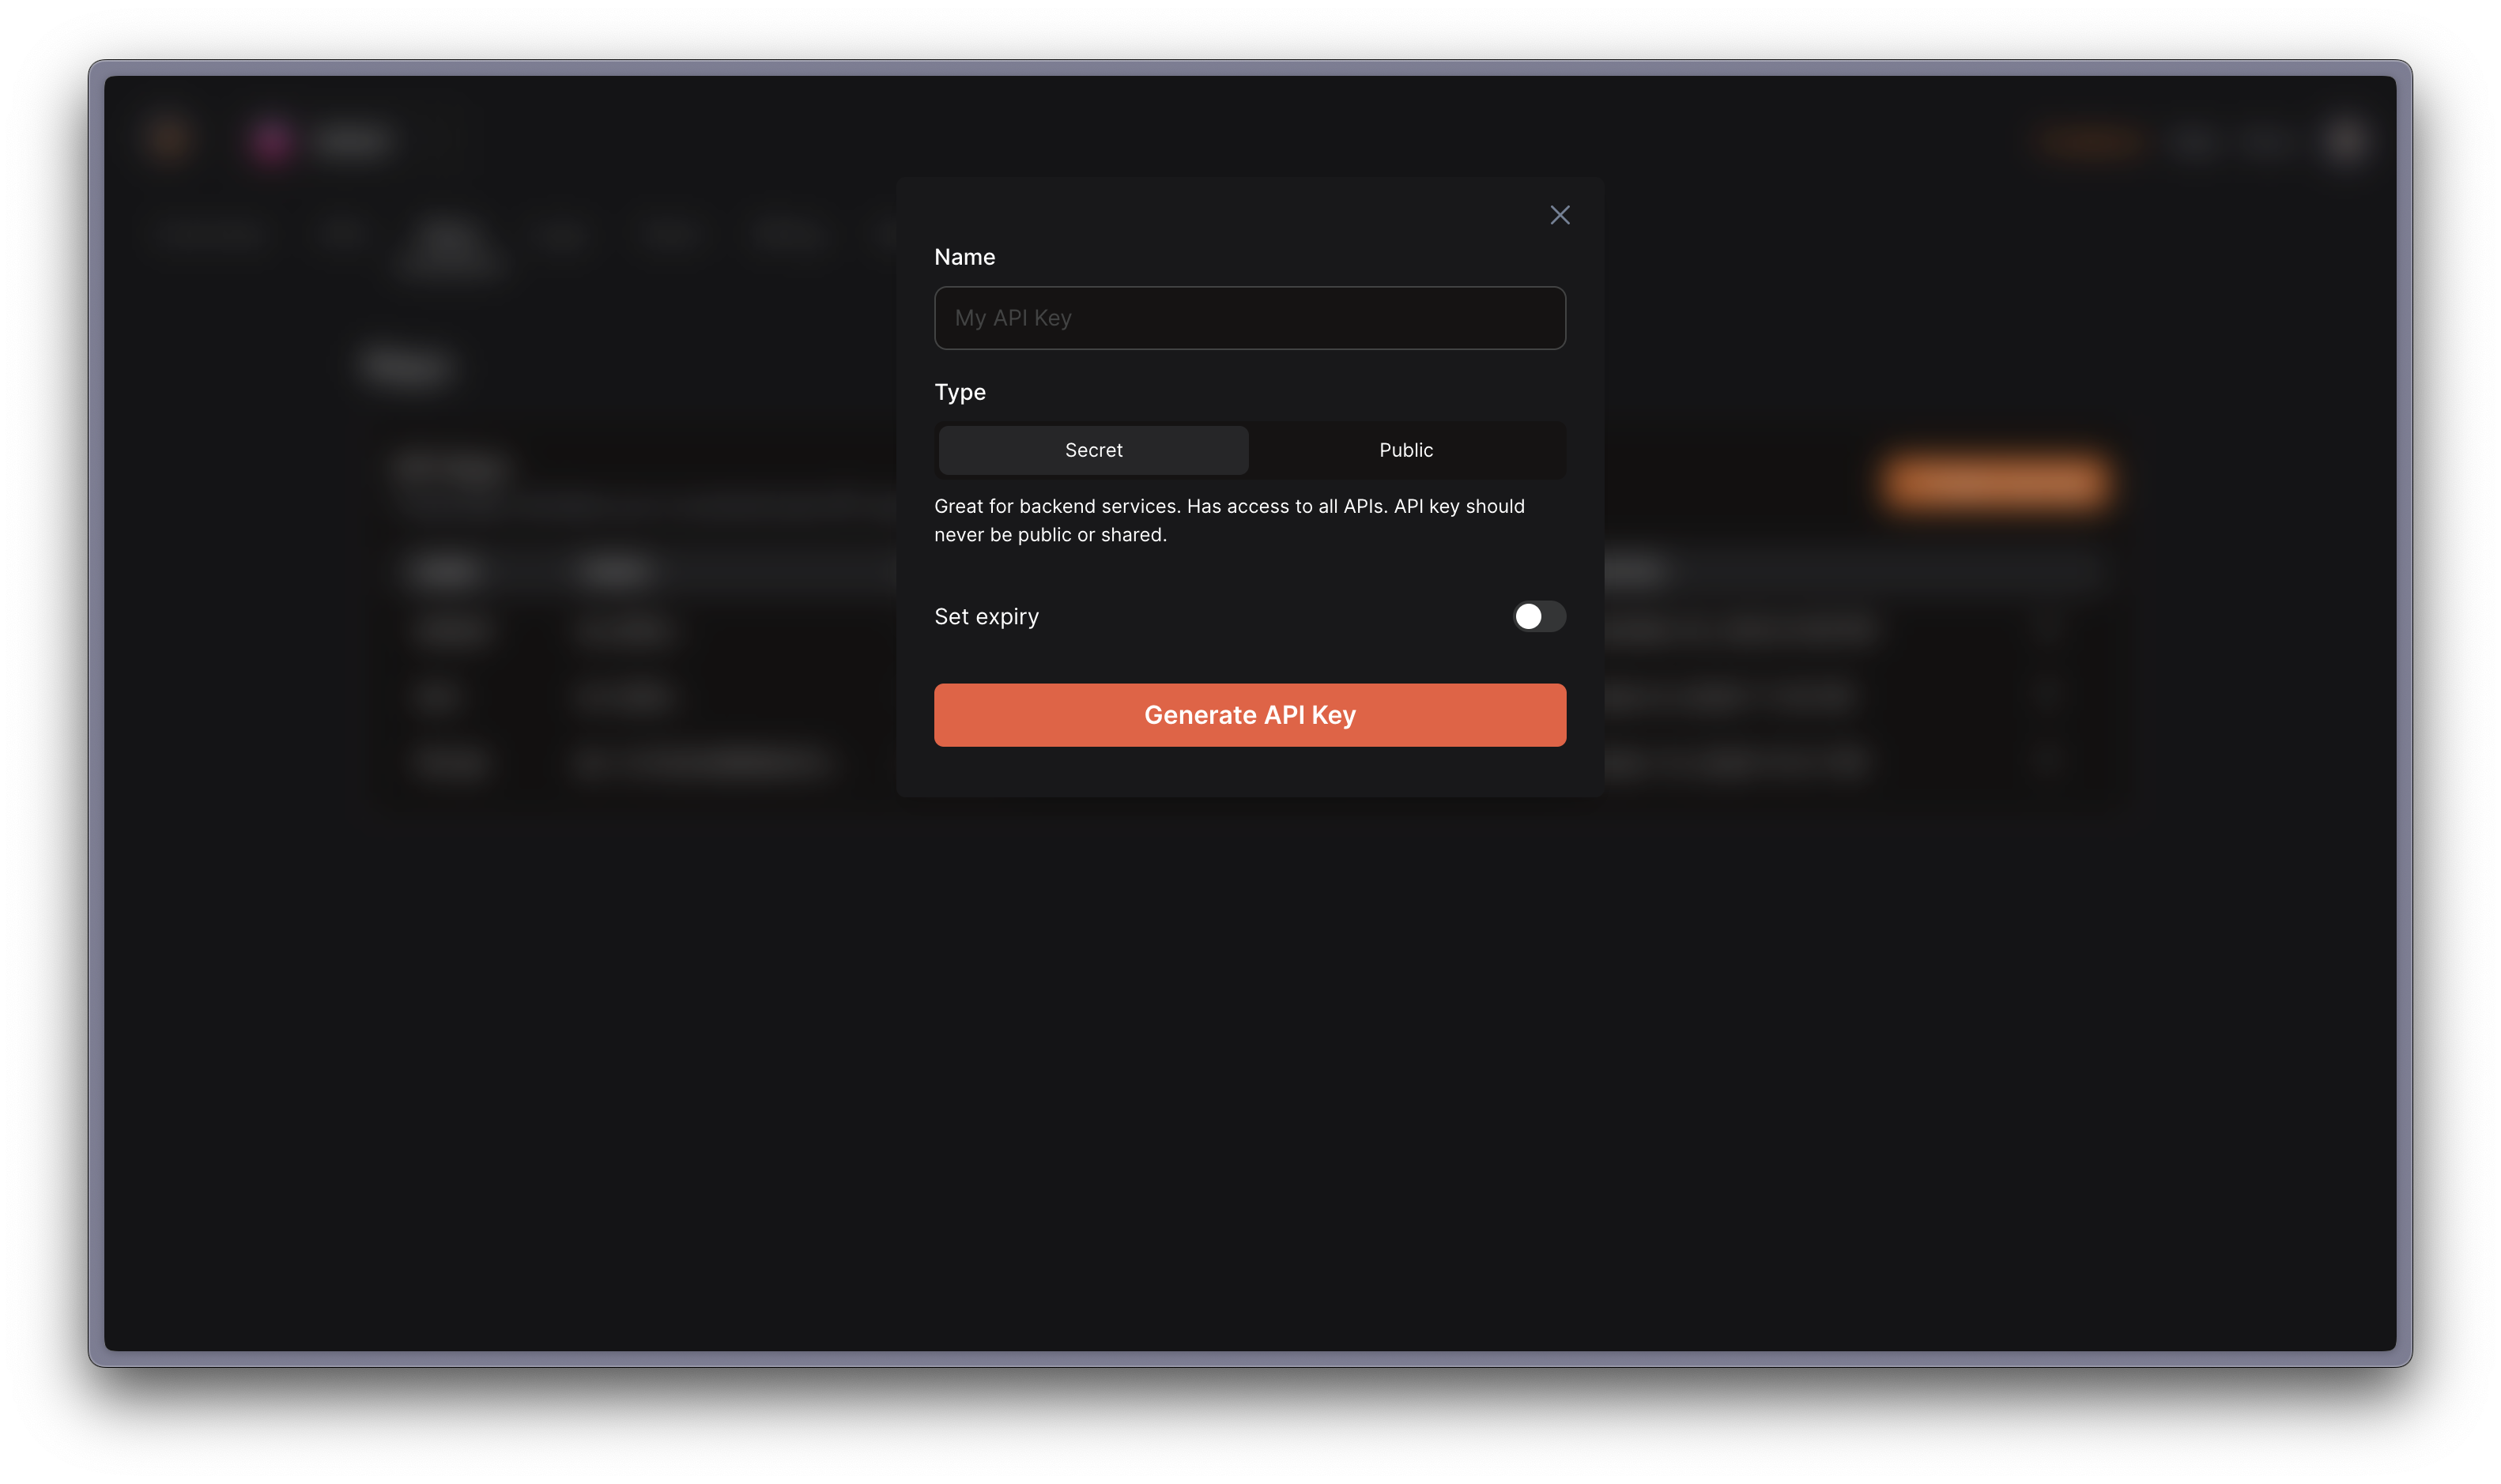
Get the API key
To get started, get your free secret API key from the JigsawStack dashboard. Head over to the Keys tab and create a new secret key. Copy that key and keep it safe, it won't be shown again.
Using the API
Using the secret key you can interact with any JigsawStack APIs, here is an example using fetch in Javascript:
Going to Production with Supabase
If you don't already have a Supabase account or the environment set up you can check out this guide on how to get started.
Let's create a new function in your Supabase project:
Create a .env file to store your JigsawStack secret key. Make sure to ignore the file in your .gitignore settings
Now in the function you can write a few lines of code to make a request to the AI scraper and map the response to what we need.
Few things to note:
- Environment keys are being referenced from the .env file by using
Deno.env.get - The full response is not being returned, only the relavant data we are looking for is being mapped and returned. You can adjust the map function to what you like.
- Wrapping it in a try catch allows us to catch any error and safely return the response for debugging
First deploy the .env secrets to Supabase (you only need to do this once)
Deploy the function and in this case since its a demo we didn't setup any form of authentication and decided to skip it with --no-verify-jwt.
You should get a deployed REST API that looks something like this:
Now you have a production ready API that allows you to scrape any website and get structured data. However, we can take this one step further by optimising the function to reduce cost especially if we are going to be scraping a lot.
Now let's try making a request to a dynamic site like Hackernews https://news.ycombinator.com/show:
You should get results that look something like this based on how we mapped out the response:
This is where it gets interesting, JigsawStack also provides an advanced scraper without the AI automation giving you deeper control on scraping options while being significantly cheaper. The scraper extracts data based on the css selector provided, this is where we can pass the css selectors we got using the AI scraper.
Take note that the AI scraper also returns the CSS selector based on the prompts and should look something like this:
Since we'll be making multiple request to JigsawStack APIs, lets create a helper function for JigsawStack that we can use to interact with any JigsawStack APIs by passing in the path params.
Let's update our Supabase function to dynamical handle both AI scraper request and normal scraping request. Right at the top we'll import our helper function to make multiple request to JigsawStack without having duplicated fetch functions.
Now this function can handle two different parameters, prompts or selectors . The code will conditionally call the relavant API based on which param is passed in. If prompts is used, it will perform a AI scraper request resulting in the css selectors and scraped data in a consistent manner. On the other hand, the selectors param will make a request to the scraper API based on the css selectors and return the scraped data at a cheaper cost.
After deploying it to Supabase again, you can first call the API to get the relavant css selectors than pass those selectors as params back to the API again. Now based on the site you're trying to scrape you can decide how frequently you would like to use the AI based scraper for accuracy before handing it over to the more cost effective scraper.
Wrap up
Now you have a fully functioning scraping API that is works dynamically to use AI or css selectors. While scraping can get more complex depending on your use case, you can check out the scraping documentation here to understand some of the capabilities available to get better quality data, such as proxying your request or even adding cookies to view authenticated pages.
Tools used:
👥 Join the JigsawStack Community
Have questions or want to show off what you’ve built? Join the JigsawStack developer community on Discord and X/Twitter. Let’s build something amazing together!